Making Agar Plates
Lab Description:
Lab Experiment: Preparation of LB Agar Plates for Bacterial Culturing and Sterile Technique
Objective:
The purpose of this experiment is to prepare LB agar plates, which will serve as the growth medium for bacterial cultures. These plates will be essential for mastering sterile techniques, which are critical for ensuring contamination-free environments during CRISPR experiments. Proper preparation and handling of agar plates are necessary to create a suitable environment for bacterial growth, as bacteria are used to study fundamental concepts of CRISPR. Understanding bacterial growth and ensuring sterility in these initial stages are key steps toward the successful application of CRISPR-Cas9 technology.
Materials Needed:
- Petri plates
- LB agar media (35g/L)
- Scale
- Glassware (microwave-safe container)
- Water (tap water is acceptable)
- Nitrile gloves
Rationale:
CRISPR technology relies on the ability to manipulate bacterial DNA. To achieve this, bacteria must be grown in a controlled, sterile environment to avoid contamination by other microorganisms, which can interfere with experimental outcomes. LB agar provides the nutrients necessary for bacterial growth, and maintaining sterile techniques ensures that only the intended bacterial strains are cultured. This step is foundational in any gene-editing process involving CRISPR, as it allows for the isolation of specific bacterial colonies to study their DNA.
Procedure:
- Wear Nitrile Gloves:
Sterility is paramount, as bacteria and yeast naturally exist on our skin and in the air. Wearing gloves helps prevent contamination during the preparation and handling of agar plates. - Weigh the LB Agar:
Measure 5.25g of LB agar for the preparation of 150mL of LB agar medium. If YPD agar is used, adjust the amount to 9.75g for 150mL, as YPD agar requires more concentration. - Mix the LB Agar Solution:
a. Pour the measured LB agar powder into a microwave-safe container.
b. Add 150mL of water (use a 50mL measuring tube for accuracy).
c. Shake the bottle gently to mix the powder with the water. The mixture will appear grainy, which is normal. - Dissolve the Agar:
a. Place the bottle, with the cap loosely fitted to allow venting, in the microwave.
b. Heat in 30-second intervals on normal settings, watching closely to prevent boiling over. If it begins to boil, pause heating and allow it to rest before resuming.
c. Continue heating until the agar media dissolves, usually within 2–4 minutes. The solution should be clear when fully dissolved. - Cool the Agar:
After heating, allow the agar to cool for about 30 minutes or until the container can be held comfortably. Do not pour the agar when it is too hot, as this may cause condensation on the plates. - Pour the Plates:
a. On a clean, sterile surface, lay out the Petri plates.
b. Pour enough agar solution to cover the bottom of each plate.
c. Place the lid (the larger part of the Petri dish) on top of the plate to prevent contamination.
d. Allow the plates to solidify for approximately 30 minutes. This process can be sped up by placing the plates in the refrigerator (not the freezer). - Dry the Plates:
After solidification, leave the plates out for a few hours or overnight to allow any excess condensation to escape. Once dry, store the plates upside down at 4°C in the refrigerator to prevent condensation from dripping onto the agar surface.
Storage and Usage:
Properly prepared plates can be stored for 2–3 months, depending on sterility and condensation levels. Plates should be inspected for condensation accumulation before use. Plates can be used immediately after solidification, and they should always be stored upside down to prevent damage.
Conclusion:
This experiment provides a foundation for creating a sterile environment crucial for CRISPR-related bacterial culturing. By mastering the preparation of LB agar plates, researchers can ensure the success of subsequent bacterial growth experiments, which are necessary for studying CRISPR gene-editing techniques. Proper handling and preparation are vital to achieving reliable results and avoiding contamination that could compromise the experimental integrity.
Lab Journal:
Day 1: Preparation of Agar Plates
This experiment was completed in a single day but played a critical role in laying the foundation for all future experiments by creating the growth medium for the bacteria.
I began by sterilizing my gloves to ensure there would be no contamination. Next, I measured 5.25g of LB agar media using a small scale and placed the powder into a glass bottle, followed by 150mL of water. This step was crucial, as maintaining a consistent concentration of the agar ensures reliable results and minimizes errors in bacterial growth later on.
With the lid loosely placed on the bottle, I shook it until the powder dissolved in the water, forming a cloudy yellowish liquid. To heat the mixture without causing it to boil over, I microwaved it in 30-second intervals, checking the clarity after each round. During my first attempt, the mixture boiled over, spilling into the microwave and producing an unpleasant smell reminiscent of an overused public restroom. On my second try, I spaced out the heating intervals and paid closer attention to prevent this from happening again, ultimately achieving a dark yellow liquid.
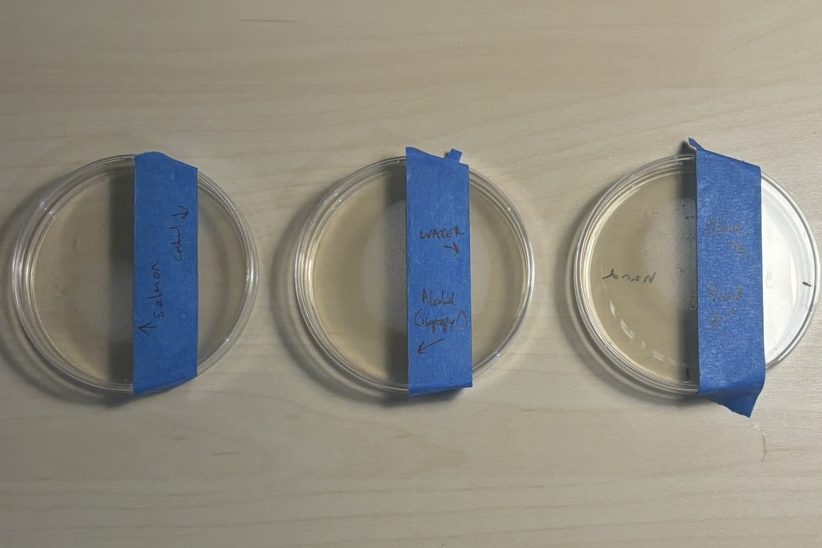
Once the mixture had cooled enough to handle, I began pouring it into the Petri plates. It’s important to use the smaller half of the plate for pouring the agar, as the larger half serves as the lid. I distributed the liquid evenly across eight plates, ensuring a thick enough layer for bacteria to grow. After pouring, I placed the lids on the plates and allowed the agar to solidify for about 30 minutes.
To prevent condensation from forming on the agar surface, I flipped the plates upside down and left them on the counter overnight. The next day, I used some of the plates for experiments, while the rest were stored in the fridge for future use. These plates can typically last 2-3 months, so preparing extra batches ensures you won’t run out during ongoing experiments.
